

A website becomes real when the files are saved in the right places.
This is where planning becomes structure. You are not publishing yet. You are building a local working copy that you can inspect, improve, and trust before it ever goes online.
What this step is really about
Saving files and testing locally sounds simple, but it teaches some of the most important habits in web work:
- putting the right files in the right folders
- using the filenames you already approved
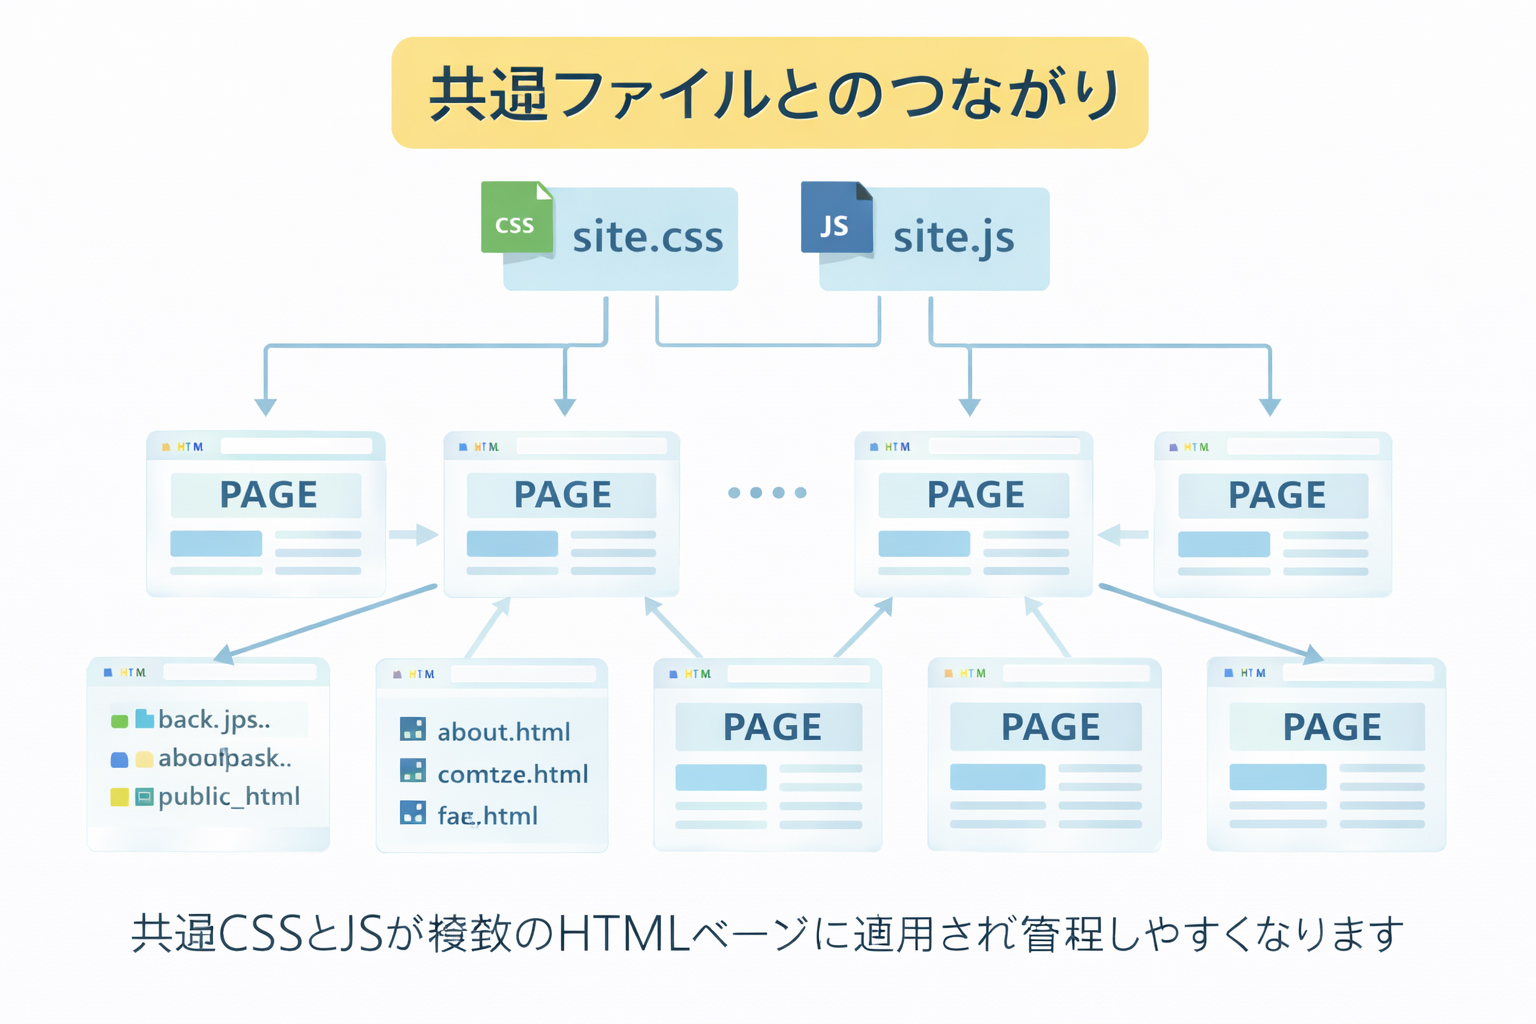
- keeping shared files like
site.cssandsite.jscentralized - making sure images live in the right image folder
- opening pages in the browser and checking what actually works
This is the first point where your project starts behaving like a real website instead of a stack of notes.
What you should already have before this step
By now, you should already know:
- what the site is
- who it is for
- what the sections are
- what the filenames are
- what image assets you plan to use
If those parts are still unclear, go back and tighten them first.
Save deliberately, not casually.
Random files on the desktop lead to random websites. One clean project folder leads to a stronger site.
Make one clear local website folder
Start with one main project folder. For example:
C:\website\Everything for this site should live inside that folder. This makes the project easier to understand and much easier to publish later.
A clean local starter structure
C:\website\
├── index.html
├── site.css
├── site.js
├── images\
├── en\
│   ├── index.html
│   ├── about.html
│   ├── faq.html
│   ├── training\
│   └── tools\
└── ja\
    ├── index.html
    ├── about.html
    ├── faq.html
    ├── training\
    └── tools\
This is not about having every page completed immediately. It is about giving the site a stable home.
What files belong at the top level?
| File or folder | Why it belongs there |
|---|---|
index.html |
Main root entry page |
site.css |
Shared styling for the whole site |
site.js |
Shared behavior and interaction |
images/ |
Central image library |
en/ |
English pages |
ja/ |
Japanese pages |
What belongs inside subfolders?
Each section should contain the pages you already decided in Step 03.
Example
C:\website\en\tools\
├── index.html
├── putty-basics.html
├── winscp-basics.html
└── vi-basics.html
This is where filename discipline starts paying off. You already know what belongs in the folder because you planned it first.
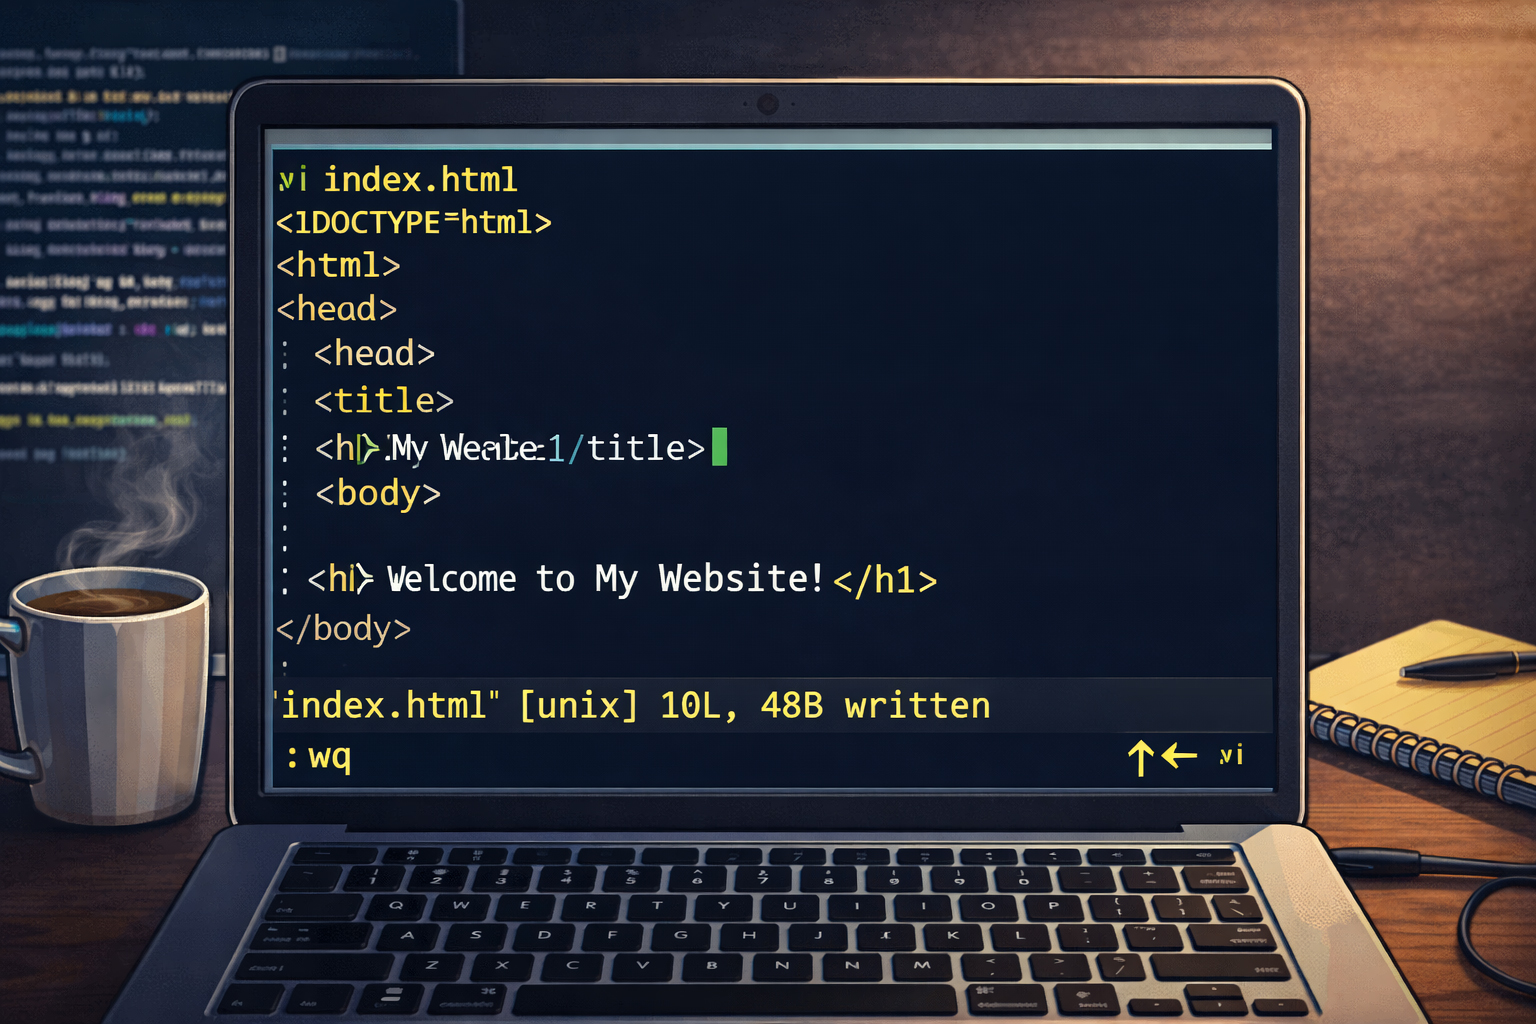
How to save your first real files
At a minimum, save:
- one or more HTML pages
- the shared
site.css - the shared
site.js - the image files you are ready to use
Example save pattern
C:\website\site.css
C:\website\site.js
C:\website\en\training\step-01-build-locally-first.html
C:\website\en\training\step-02-define-the-site.html
C:\website\images\webbie-pointing.jpg
Try to avoid saving files in temporary random places and promising yourself you will sort them out later.
Use the approved filenames, not improvised variations.
If the file tree says step-02-define-the-site.html, do not save it as
define-site-final.html or step2.html. That weakens the whole workflow.
How to connect pages to shared CSS and JS
Every HTML page should reference the shared site files consistently.
If you are using root-based paths, you may write:
<link rel="stylesheet" href="/site.css">
<script defer src="/site.js"></script>
But when you are testing purely from local files, some people prefer relative paths depending on the setup. For example:
<link rel="stylesheet" href="../../site.css">
<script defer src="../../site.js"></script>
What matters most is that the references match your local file structure.
Example: one simple local page with shared files
<!doctype html>
<html lang="en">
<head>
  <meta charset="utf-8">
  <meta name="viewport" content="width=device-width, initial-scale=1">
  <title>My Training Page</title>
  <link rel="stylesheet" href="../../site.css">
</head>
<body>
  <main>
    <h1>My Training Page</h1>
    <p>This page is being tested locally before publishing.</p>
  </main>
  <script defer src="../../site.js"></script>
</body>
</html>
Save that file in:
C:\website\en\training\step-01-build-locally-first.htmlThen open it in the browser and see whether the layout and shared styles are working.
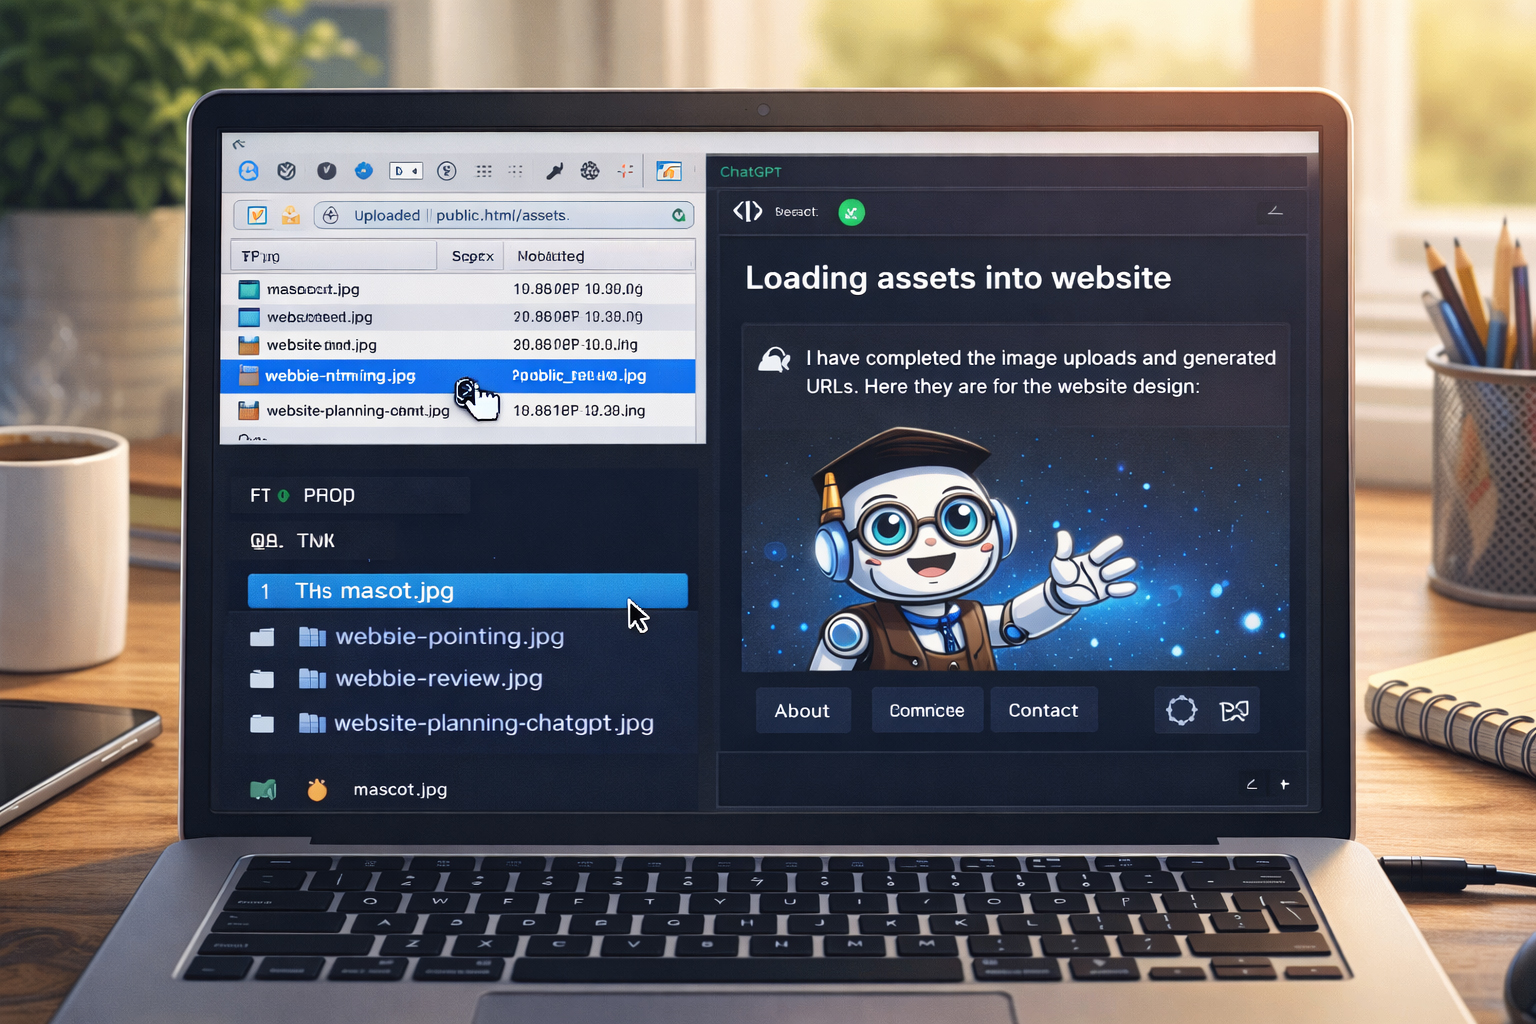
How to save images locally
Keep your images together in the site’s image folder:
C:\website\images\Example:
C:\website\images\make-website-hero-main.jpg
C:\website\images\webbie-pointing.jpg
C:\website\images\website-workflow-diagram.jpg
Then your HTML can reference them in a consistent way.
Example image line
<img src="../../images/webbie-pointing.jpg" alt="Webbie pointing at a checklist">Or, depending on your local layout and how you preview files, another relative path pattern may be appropriate. The key lesson is the same: the image file should really exist in the location your HTML expects.
How to test a page locally
Once a page is saved, test it in a browser. The most basic method is simply:
- navigate to the file on your computer
- double-click the HTML file
- open it in a browser
- inspect the page carefully
You are checking for practical things like:
- does the page open at all?
- does the CSS load?
- does the JS load?
- do the images appear?
- do the internal links go where they should?
- does the layout look reasonable on desktop?
What to check when you preview locally
| Check | What to look for |
|---|---|
| Title | Does the browser tab show the expected page title? |
| Navigation | Do links point to the correct local pages? |
| Images | Are all planned images visible? |
| Shared CSS | Does the styling look correct? |
| Shared JS | Do expected interactions work? |
| Spacing and readability | Does the page feel clear and calm? |
How local testing teaches real website skills
This step is about more than just “opening a page.” It teaches you:
File awareness
You learn which files are actually affecting the page and where they live.
Path awareness
You begin to understand how pages, CSS, JavaScript, and images connect to one another.
Revision discipline
You stop treating pages as magical output and start treating them as files you can inspect and improve.
Publishing readiness
When the site eventually goes online, it will already be more stable because it was tested first.
Example: testing one training page locally
Let us say you saved:
C:\website\en\training\step-03-decide-filenames.htmlYou open it in your browser and check:
- does the page title appear correctly?
- does the hero eyebrow show “Step 03”?
- does the image load?
- does the “Next step” button point to Step 04?
- does the CSS apply correctly?
If not, you fix it locally first.
What if something looks wrong?
Good. That is why you are testing locally.
If something is broken, check:
- did I save the file in the correct folder?
- did I use the correct filename?
- does the CSS path match the file location?
- does the image actually exist in the image folder?
- did I misspell a path?
When something breaks, inspect paths first.
A surprising amount of local website trouble comes from a wrong path, a wrong folder, or a wrong filename.
Local testing does not need to be fancy
At this stage, you do not need advanced deployment systems or complicated local hosting tools. The point is to prove that:
- the files are organized
- the page opens
- the structure works
- the site can be reviewed calmly
Later you can add more advanced methods. Right now, clarity matters more than complexity.
How this step prepares you for publishing later
If your local files are already clean, publishing later becomes much easier. You will already know:
- which HTML files exist
- which shared files exist
- which image files belong to the site
- what paths the pages expect
- what should happen when the site goes live
That is exactly why this step belongs before uploading.
Common beginner mistakes
1. Saving files in inconsistent places
One page in Downloads, one page on the Desktop, one image somewhere else—this is how confusion begins.
2. Forgetting the shared files
If a page references site.css or site.js, those files need to exist where the page expects them.
3. Using the wrong filename
If the approved tree says winscp-basics.html, do not save winscp.html and hope to clean it up later.
4. Testing only one page and assuming the whole site works
Each page should be opened and checked, especially when the internal links and image paths vary by folder depth.
5. Waiting until upload time to discover broken paths
Local testing exists so you can discover those problems before publishing.
A broken local page is useful information. A broken live page is public embarrassment.
That is why local testing comes before upload.
What you should have by the end of this step
By the end of Step 05, you should have:
- a clean local website folder
- the approved HTML files saved in the correct directories
site.cssandsite.jssaved at the root level- the image assets saved in the image folder
- at least a few pages opening locally in the browser
- a working habit of checking structure before publishing
Saving files properly is part of website design.
It is not merely housekeeping. Clean file placement leads to cleaner builds, better testing, and less dependence on other people later.
Mini cheat sheet
At this step:
- save all files into one clean local project folder
- use the approved filenames and folders
- save site.css and site.js at the root level
- save images in the images folder
- open pages in a browser and inspect them
- fix path problems before publishingCan you do these six things?
Completed: 0/6