
Upload images after planning, not during panic.
By this point, your image list should already be defined and your local files should already be organized. Uploading should feel like a controlled step, not a scramble.
Why this step comes after local planning
The earlier steps gave you the right foundation:
- you defined the site clearly
- you decided the filenames
- you planned or created the image set
- you saved the files in a clean local structure
Now you are ready to move the approved image assets to the live server so they can eventually be used by your HTML pages.
Upload approved assets, not guesses.
Your image uploads should be based on a known list with known filenames. That keeps the site stable and reduces rework later.
What “ready” means
An image is ready to upload when:
- you know what page or section it is for
- you have decided the final filename
- you have saved it into your local image folder
- you are satisfied with the image itself
- you are not expecting to rename it immediately after upload
This sounds obvious, but many website projects get messy because people upload temporary assets with temporary names and promise to fix everything later.
The local image folder should already exist
Before uploading, your local image folder should look something like this:
C:\website\images\
├── make-website-hero-main.jpg
├── professor_webbie.jpg
├── robot-mascot-in-modern-workspace.jpg
├── webbie-header-logo.jpg
├── webbie-icon-square.jpg
├── webbie-mascot.jpg
├── webbie-pointing.jpg
├── webbie-review.jpg
├── website-filenames-first.jpg
├── website-grading-review.jpg
├── website-planning-chatgpt.jpg
├── website-putty-terminal.jpg
├── website-site-css-js.jpg
├── website-winscp-files.jpg
├── website-workflow-diagram.jpg
├── website-vi-editor.jpg
├── website-local-preview.jpg
├── website-image-urls.jpg
├── website-homepage-last.jpg
├── website-sitemap-robots.jpg
└── website-section-index-last.jpg
If your image folder is clean locally, the upload step becomes much easier.
Where the images usually go on the server
For a site like this, images are often uploaded into a dedicated image directory such as:
/public_html/images/The exact server path depends on your host, but the idea is consistent: keep your site images together in one image folder instead of scattering them across random directories.
Why one shared image folder is a strong idea
1. It simplifies the project
When all site images live in one known place, it is easier to reference and manage them.
2. It helps HTML stay clean
You can use predictable image paths instead of complicated scattered references.
3. It helps later maintenance
If you need to inspect, replace, or back up images, you know where they are.
4. It improves teamwork and handoff
Even if someone else touches the site later, the asset structure is still understandable.
How to upload images in practice
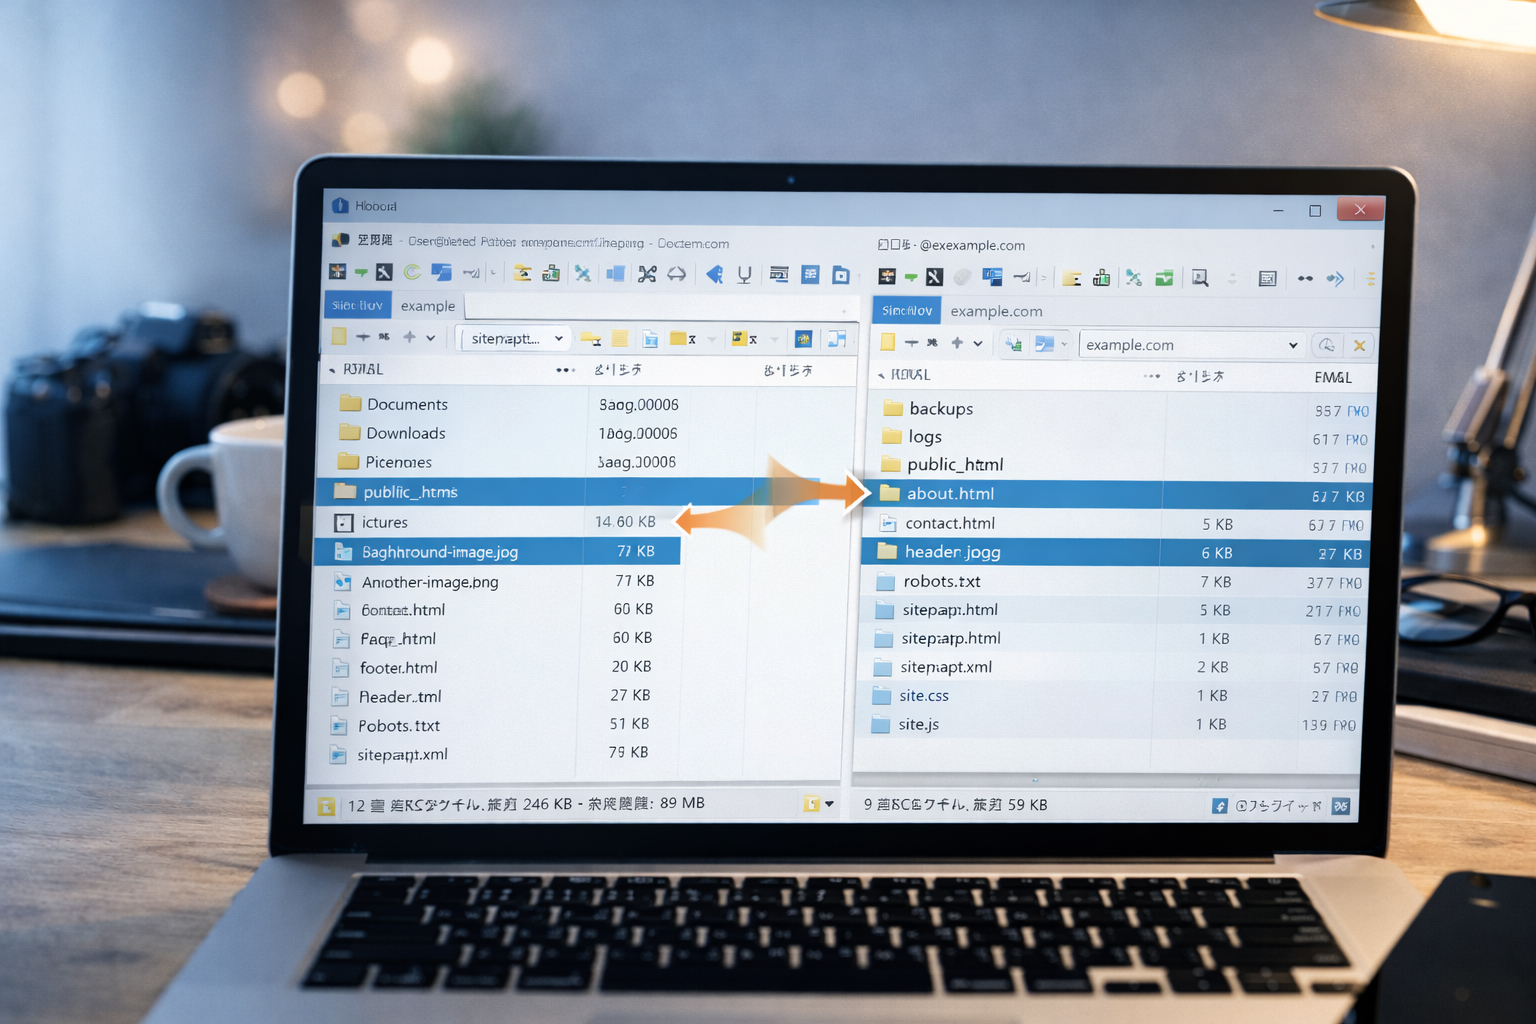
A common workflow with WinSCP looks like this:
Open WinSCP
Connect to your server using SFTP or the correct protocol for your hosting setup.
Find the local image folder
On the left side, navigate to your local images folder.
Find the remote image folder
On the right side, navigate to the live server image folder, such as /public_html/images/.
Upload the approved files
Drag or upload the image files from left to right.
Check that the filenames are correct
Do not assume they uploaded correctly. Verify the names in the remote folder.
What not to do
Avoid these weak upload habits:
- uploading draft images you do not really intend to keep
- uploading different versions with confusing names
- renaming the same image repeatedly on the server
- mixing sections’ images into many random folders
- uploading images before you know how they fit the site
The server is not your sketchbook.
Your experimentation should mostly happen locally. The server should receive approved, organized assets.
Why image upload timing matters
This is one of the signature lessons of website.co.jp:
Upload images before full HTML generation, but only after the image set is approved.
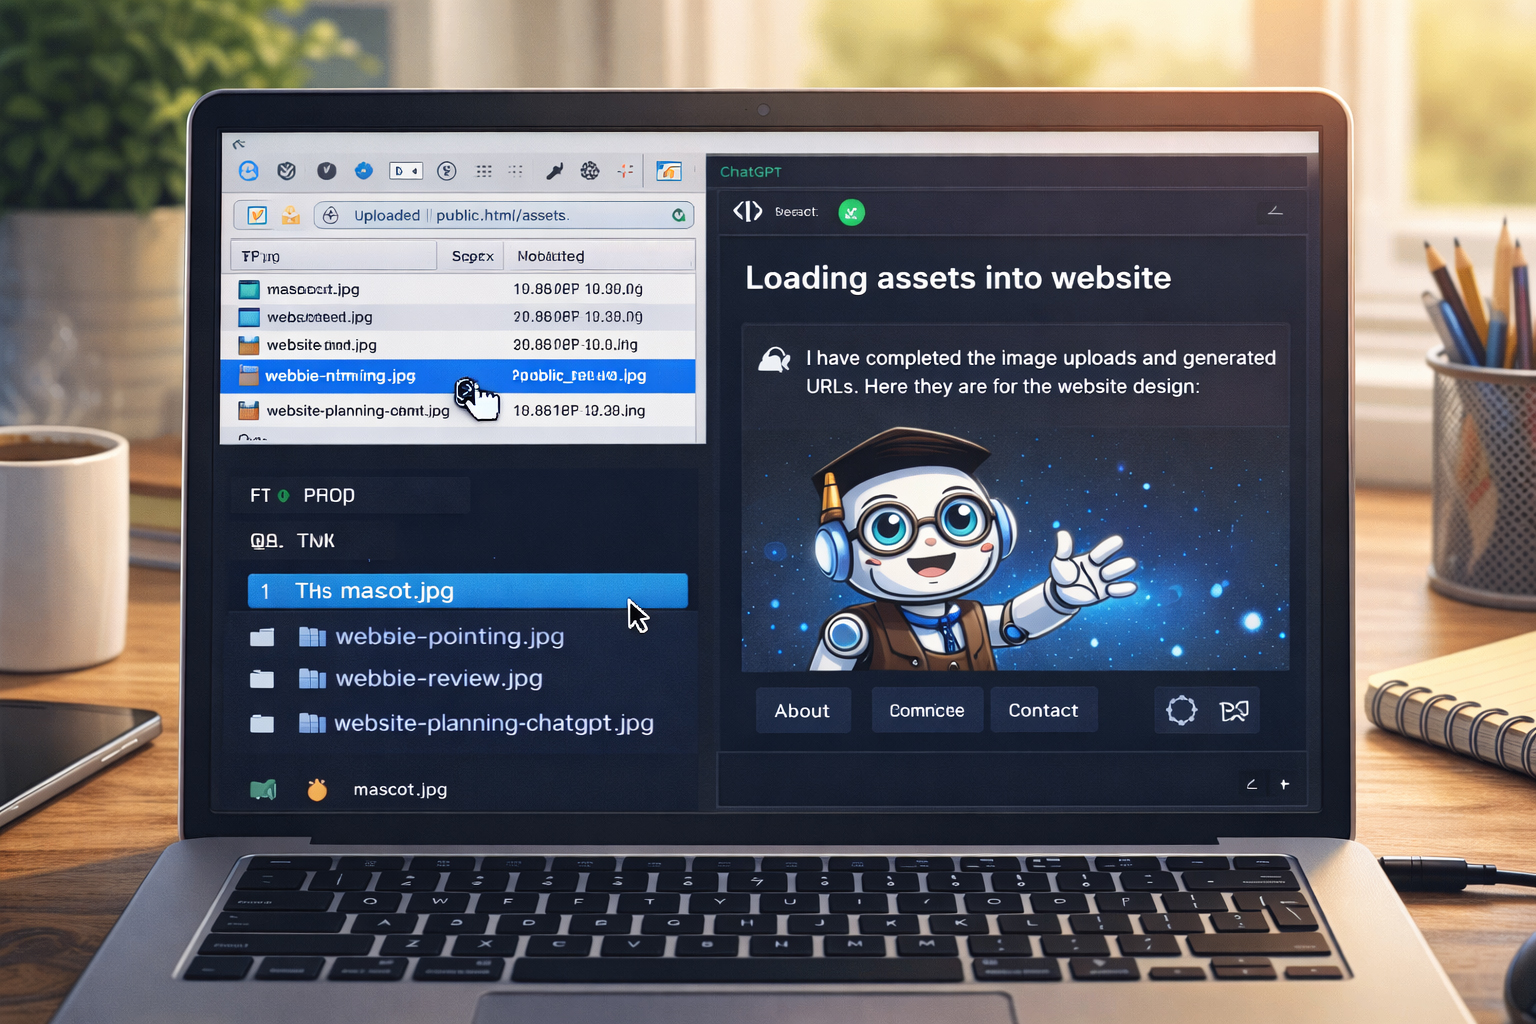
That timing matters because it lets you do the next step properly: use the real live image URLs in your page prompts.
If the images are already on the server with stable filenames, later HTML generation becomes much tighter and more reliable.
Real example: uploading one site image
Let us say you want to upload:
website-putty-terminal.jpgFirst, make sure it exists locally:
C:\website\images\website-putty-terminal.jpgThen upload it to:
/public_html/images/website-putty-terminal.jpgOnce it is there, it can later be used at:
https://website.co.jp/images/website-putty-terminal.jpgThat stable URL is what makes later HTML generation stronger.
Real example: upload a small approved set first
You do not always need to upload the entire image library in one move. A smart approach is to begin with the most important images:
make-website-hero-main.jpg
webbie-icon-square.jpg
webbie-pointing.jpg
website-planning-chatgpt.jpg
website-workflow-diagram.jpg
That gives you enough assets to start building several pages with real images right away.
How to think about image replacements
Sometimes you may need to replace an uploaded image with a better version. That is fine, but do it carefully.
Good replacement logic
- keep the same filename if the improved image is a true replacement
- only replace after you are sure the new version is better
- know which pages use that image
Bad replacement logic
- keep uploading multiple confusing versions
- rename files after many pages already reference them
- replace major shared assets casually without testing
What this step is preparing you for
The main point of Step 06 is not just file transfer. It is preparing for Step 07:
Save the live image URLs and feed them back into ChatGPT during HTML generation.
That is one of the most practical workflow lessons on this site. It reduces drift and keeps the HTML grounded in real assets.
Uploading images is not the end of the image process. It is the bridge to real URLs.
The real power comes when uploaded images become stable live assets that your pages can rely on.
How this improves later HTML prompts
Without uploaded assets, a prompt may sound vague:
Make a page with a hero image and a workflow image.With uploaded assets, a much stronger prompt becomes possible:
Make the page using:
https://website.co.jp/images/make-website-hero-main.jpg
https://website.co.jp/images/website-workflow-diagram.jpg
https://website.co.jp/images/webbie-pointing.jpg
That change alone can improve consistency a lot.
Common beginner mistakes
1. Uploading before filenames are settled
This often creates needless renaming and later confusion.
2. Uploading random test images you do not plan to keep
Those images often end up referenced somewhere by accident or cluttering the server.
3. Forgetting where the remote image folder is
Make sure you know the correct live path before uploading.
4. Treating image upload as separate from page generation
It is not separate. The whole point is to support later HTML with real, stable assets.
5. Uploading without checking the final names
A single wrong character in a filename can create broken image references later.
What you should have by the end of this step
By the end of Step 06, you should have:
- a clean approved image folder locally
- the most important approved images uploaded to the server
- the remote image folder confirmed
- stable final filenames on the server
- a stronger foundation for collecting the live image URLs next
Upload with structure now so HTML can stay disciplined later.
Good website building is often about doing earlier steps carefully enough that later steps become easier.
Mini cheat sheet
Before uploading images:
- approve the image set
- finalize the filenames
- keep all image files in one clean local folder

During upload:
- connect to the server
- go to the correct remote image folder
- upload approved files only
- verify the filenames on the server

After upload:
- prepare to save the live image URLs
- use those URLs in later HTML promptsCan you do these six things?
Completed: 0/6