
WinSCP helps you see what is going on.
That is why beginners like it. Instead of working blind, you can compare local files and server files side by side. For website work, that clarity is a huge advantage.
What is WinSCP?
WinSCP is a file transfer tool for Windows. It is commonly used to connect to a web server with SFTP or SCP. Once connected, you can upload files, download files, rename files, replace files, create folders, and compare what is on your own computer with what is on the server.
If PuTTY is useful for command-line access, WinSCP is useful for visual file control. For many website owners, that makes it easier to understand what they are doing.
Why WinSCP matters for website work
- You can upload HTML, CSS, JavaScript, and images.
- You can see exactly where your files live on the server.
- You can keep local copies of your site.
- You can replace outdated files with newer ones.
- You can organize folders more safely than typing file moves from memory.
- You can become less dependent on other people for simple site updates.
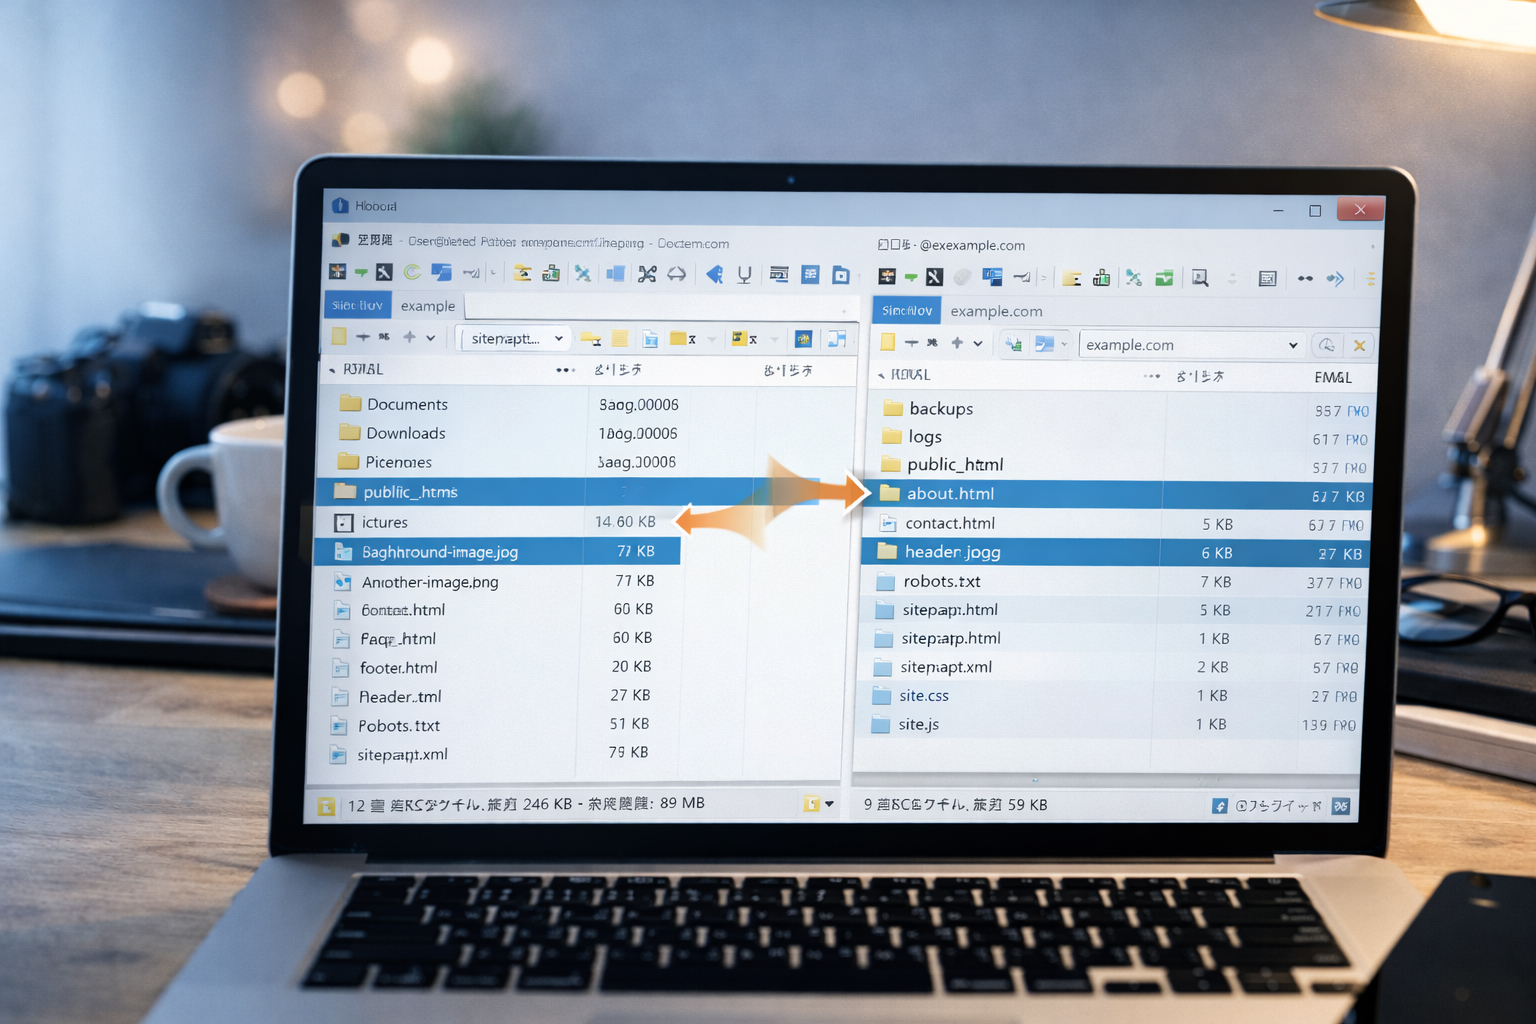
The basic idea: left side and right side
In WinSCP, you usually see two main panels:
Left side: your local computer
This is where your files live on your own machine. It may be a folder like
C:\website\ or C:\Users\YourName\Documents\website\.
Right side: your remote server
This is your live website space on the server, often something like
/public_html/ or /home/youruser/public_html/.
The core lesson is simple:
Left side = your working copy. Right side = your published copy.
What you need before connecting
To log in with WinSCP, you usually need these details:
| Field | What it means | Typical example |
|---|---|---|
| File protocol | How WinSCP connects | SFTP |
| Host name | Your server address | example.com or a server IP |
| Port number | Connection port | 22 for SFTP |
| User name | Your server account name | youruser |
| Password | Your server password | Provided by host or admin |
Use SFTP, not plain FTP, when possible.
SFTP is generally the safer choice because it transfers files over an encrypted SSH connection.
How to connect with WinSCP
- Open WinSCP.
- Choose SFTP as the file protocol.
- Enter the host name.
- Enter port
22, unless your server uses something different. - Enter your user name and password.
- Click Login.
The first time, WinSCP may ask you to confirm the server key or fingerprint. That is part of checking that you are connecting to the expected server.
Your first goal after login
Do not start dragging files immediately. First, take a minute to understand where you are.
Look before you upload.
Check the server path on the right side. Make sure you are in the correct website folder before you copy anything over.
Typical folders you may see on the server
public_htmlwwwhtdocslogs- other account-level folders
For many shared hosting accounts, your live website files are inside public_html.
Local website folder example
A clean local working folder might look like this:
C:\website\
├── site.css
├── site.js
├── index.html
├── en\
│   ├── index.html
│   └── tools\
│       ├── index.html
│       ├── putty-basics.html
│       ├── winscp-basics.html
│       └── vi-basics.html
├── ja\
│   ├── index.html
│   └── tools\
│       ├── index.html
│       ├── putty-basics.html
│       ├── winscp-basics.html
│       └── vi-basics.html
└── images\
    ├── webbie-icon-square.jpg
    ├── website-winscp-files.jpg
    └── website-putty-terminal.jpg
If your local structure is clean, WinSCP becomes much easier to use correctly.
What kinds of files you will upload
| File type | What it is for | Example |
|---|---|---|
| HTML | The page structure and content | winscp-basics.html |
| CSS | Shared visual styling | site.css |
| JavaScript | Shared interaction and behavior | site.js |
| Images | Hero images, Webbie art, diagrams | website-winscp-files.jpg |
| XML or TXT | Site utility files | sitemap.xml, robots.txt |
How to upload a file
There are two common ways:
- drag from the left panel to the right panel
- select the file and use the upload button
Example: upload one HTML page
- On the left, go to your local
en/tools/folder. - On the right, go to the server folder
/public_html/en/tools/. - Select
winscp-basics.htmlon the left. - Drag it to the right or click Upload.
If the file already exists on the server, WinSCP will usually ask whether you want to overwrite it.
How to upload images
This is especially important for your website workflow. A common pattern is:
Create the images first
Generate or prepare the images you want to use.
Upload them into the correct image folder
Usually something like /public_html/images/.
Confirm the final filenames
Be methodical. The filename matters because you will use it in HTML.
Use the live URLs in your pages
Example:
https://website.co.jp/images/website-winscp-files.jpg
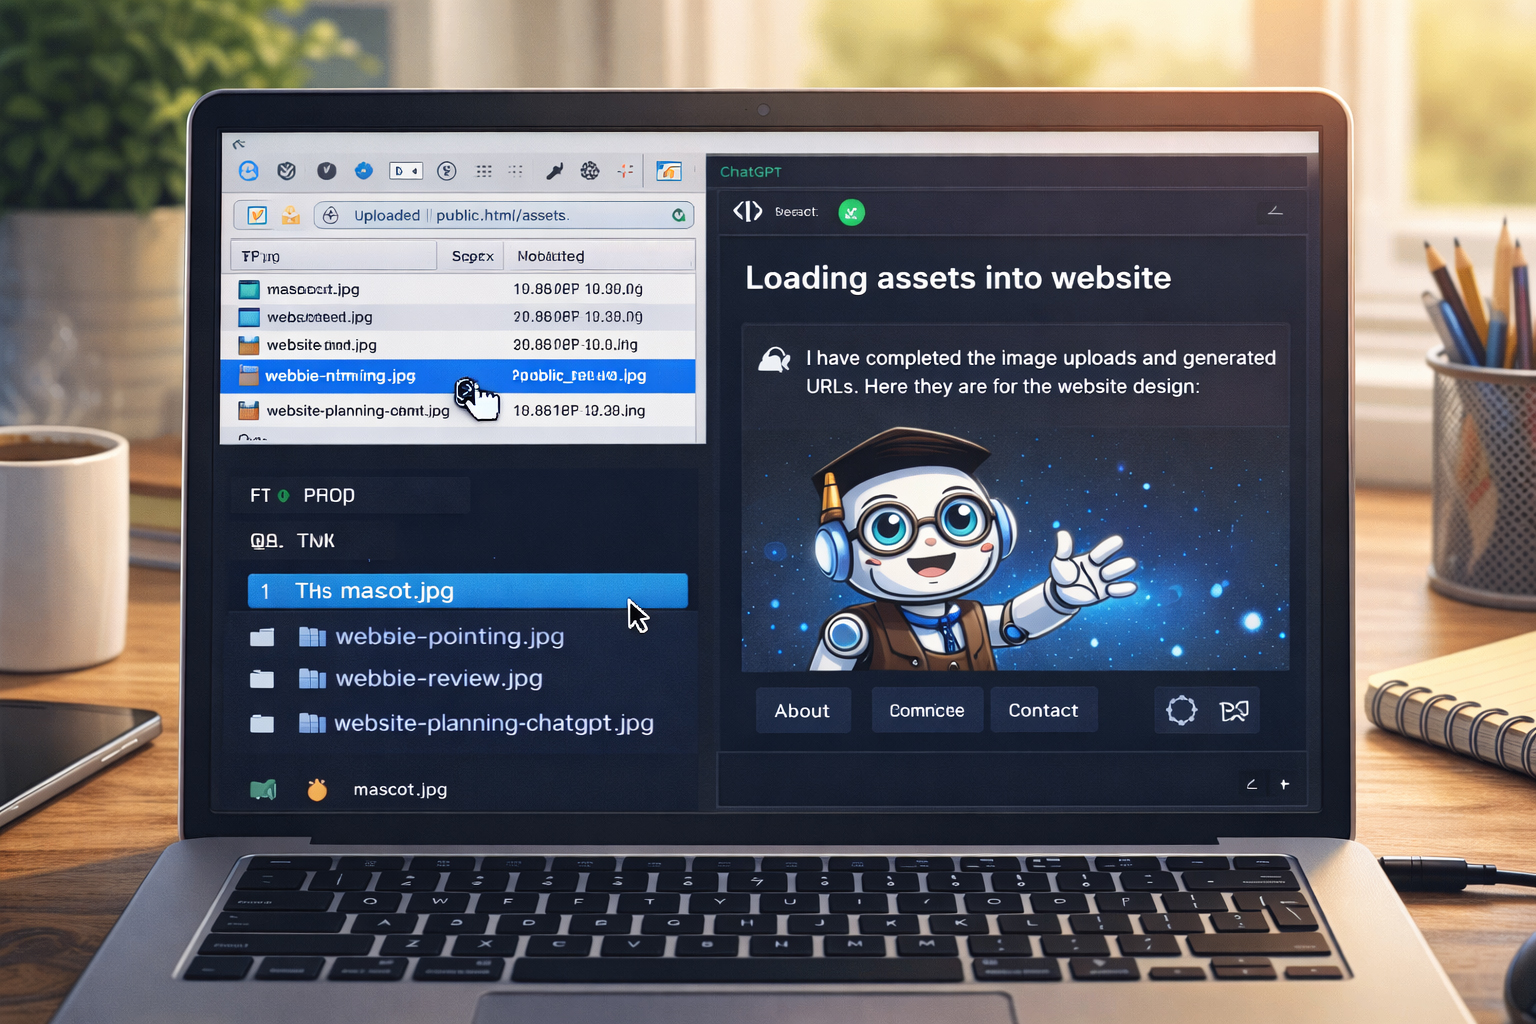
Why this image workflow matters
Uploading images first and then using the final URLs is one of the best ways to keep ChatGPT from drifting. It gives the work a stable foundation.
- fewer broken image paths
- less placeholder junk
- more consistent HTML output
- better control over naming and reuse
Example: upload an image and use it in HTML
Suppose you upload this file into your server image folder:
website-putty-terminal.jpgAnd now its live URL is:
https://website.co.jp/images/website-putty-terminal.jpgYou can use it in HTML like this:
<img src="https://website.co.jp/images/website-putty-terminal.jpg"
     alt="Laptop showing a terminal connection for website work">
Replacing an existing file
One of WinSCP’s most useful features is replacing old files with new versions.
Example: update site.css
- Finish editing the local version of
site.css. - In WinSCP, go to the local folder on the left.
- Go to the matching server folder on the right.
- Upload the local
site.css. - Approve overwrite if prompted.
- Refresh the browser and test the site.
Shared files affect many pages.
Replacing site.css or site.js can affect your entire site.
Test those changes carefully.
Good habits before replacing files
- Know what file you are replacing.
- Know what pages depend on it.
- Keep a local backup copy of the older file.
- Upload during a calm moment, not in a rush.
- Refresh and verify after upload.
How to create folders in WinSCP
If your section does not exist yet, you may need to create a new directory.
Example
Let us say you are starting a tools section and the server does not yet have:
/public_html/en/tools/In WinSCP, you can:
- navigate on the right side to
/public_html/en/ - create a new folder named
tools - then upload your tool pages into it
This is much easier when your filename and folder plan is already settled.
How to think about local vs live work
One of the strongest beginner workflows is:
Build locally. Review locally. Upload only when the file is ready.

That approach reduces panic and helps you learn without paying for hosting too early.
What WinSCP is especially good for
- publishing finished files from your computer to a server
- replacing old images with new ones
- keeping a visual sense of the site folder structure
- downloading server files for backup or inspection
- checking whether a file really exists where you think it does
What WinSCP is not best for
- writing large new pages from scratch
- complex code editing compared with a full local editor
- understanding server logic by itself
- fixing broken architecture after a messy workflow
It is best when used as part of a disciplined process.
Real website example: upload one new training step page
Suppose you just created this local file:
C:\website\en\training\step-07-save-image-urls.htmlAnd you want to publish it to:
/public_html/en/training/step-07-save-image-urls.htmlA careful workflow:
- Open WinSCP.
- Navigate on the left to
C:\website\en\training\. - Navigate on the right to
/public_html/en/training/. - Confirm the file is named exactly
step-07-save-image-urls.html. - Upload it.
- Visit the live URL in your browser and confirm it loads correctly.
Real website example: upload a shared mascot image
Suppose you have this local file:
C:\website\images\webbie-review.jpgYou upload it to:
/public_html/images/webbie-review.jpgThen the live image URL becomes:
https://website.co.jp/images/webbie-review.jpgNow your page HTML can safely use:
<img src="https://website.co.jp/images/webbie-review.jpg" alt="Webbie reviewing a website">How to avoid common WinSCP mistakes
1. Uploading to the wrong folder
This is one of the most common mistakes. Always look at the server path before uploading.
2. Replacing the wrong file
Be especially careful with files like:
index.htmlsite.csssite.js- shared images used across many pages
3. Dragging too much at once
Beginners often try to upload a whole messy folder tree at once. It is safer to upload with intention.
4. Using inconsistent filenames
Hero.jpg, hero.jpg, and hero-final-new.jpg create confusion fast.
Decide filenames early and stick to them.
5. Editing live files first when local work would be safer
Use WinSCP to publish and organize. Use local editing and browser review when you can.
A smart beginner workflow for WinSCP
Build locally
Create or edit the file on your own computer first.
Check filenames carefully
Make sure the local filename and target server filename match exactly.
Open the correct server folder
Do not guess. Navigate to the right location.
Upload one file or one logical set
Stay calm and deliberate.
Test the live result
Open the page or image in your browser and confirm it works.
WinSCP vs PuTTY vs vi
| Tool | Best for | Beginner comfort level |
|---|---|---|
| WinSCP | Uploading, downloading, organizing files visually | High |
| PuTTY | SSH command-line access to the server | Medium |
| vi | Quick text edits directly on the server | Lower at first, then very useful |
These tools work well together:
- WinSCP for file movement
- PuTTY for command-line access
- vi for quick edits when needed
Mini publishing example for website.co.jp
Here is a clean, realistic sequence:
1. Create /en/tools/winscp-basics.html locally
2. Save /site.css locally
3. Save /site.js locally
4. Save image files locally in /images/
5. Open WinSCP
6. Upload the page to /public_html/en/tools/
7. Upload shared files to /public_html/
8. Upload images to /public_html/images/
9. Visit the live page in a browser
10. Fix small issues and re-upload as neededWinSCP is not just a transfer tool. It is a control tool.
The more clearly you can see your files, folders, and publication process, the less likely your website is to become mysterious, messy, or dependent on other people.
Mini cheat sheet
Left side   = your local computer
Right side  = your remote server
SFTP        = safer file transfer over SSH
Upload      = send local file to server
Download    = copy server file back to local machine
Overwrite   = replace old server file with new local file
Best habit = check the path before you transferCan you do these six things?
Completed: 0/6